• Home
  • Gallery
    • Decorated Cookies >
      • Baby
      • Birthday
      • Business/Logo Cookies
      • Character Cookies
      • Holidays/Seasonal
      • Specialty Cookies
      • School/Graduation
      • Sports
      • Weddings & Bridal Showers
      • Work/Hobby
      • Miscellaneous
    • Monster Shakes
    • Cupcakes
    • Cakes
  • Parties
  • About
  • Request a Quote
  • Shop Now
  • BLOG
  • Application
  • Donation Request
  • Waiver Release
Crumbles by Nicole

Oreo Cookies and Cream Roll Out Cookie

6/19/2016

16 Comments

 
Picture
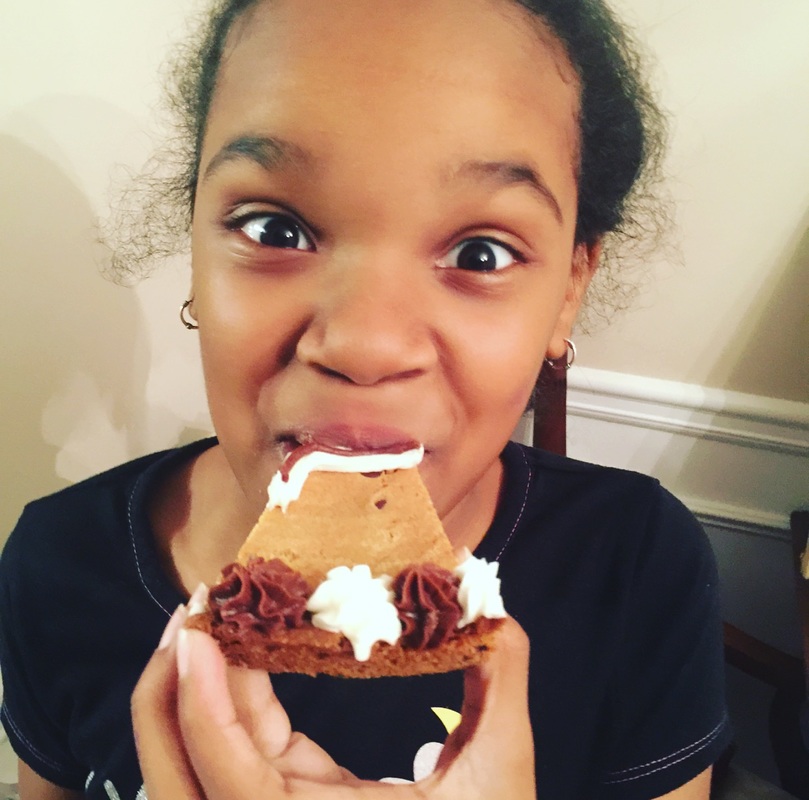
I love everything Oreo: Oreo Cheesecake, Oreo Ice Cream, Oreo Milkshakes, Oreo Cupcakes......you get the point right? So I had to figure out the perfect way to get that Oreo punch of flavor into a roll out cookie dough. I think I figured out the magic trick for a soft delicious cookie that can hold up to royal icing and still hold its shape. Wanna know my secret? Yeah, I thought you would ...it's instant pudding mix! Shhhhh its my secret.
Picture
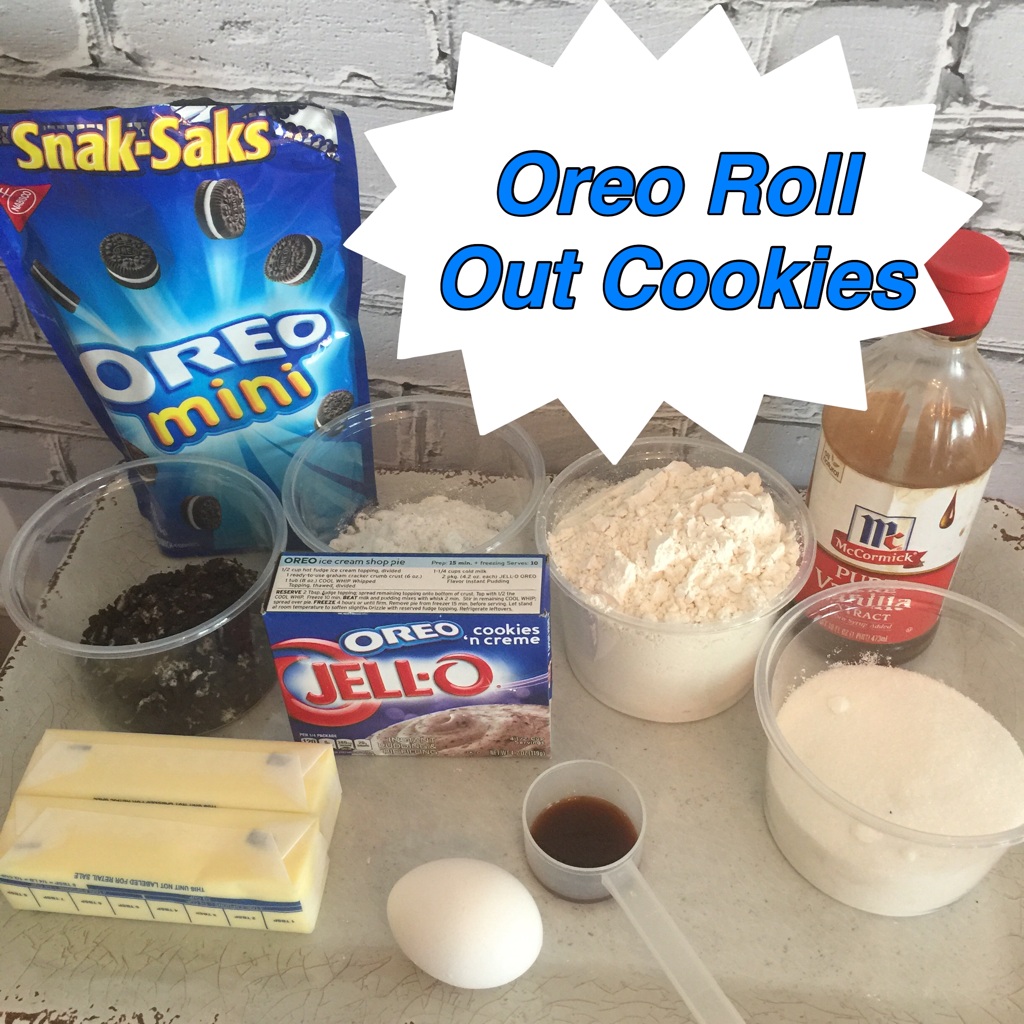
Oreo Roll Out Cookie Ingredients:
​1 cup salted butter (softened)
1 cup sugar
1 large egg
1 tsp vanilla
1 box of Jello Oreo instant pudding (4.2oz)
2 1/4 cups all purpose flour
1/4 cup finely crushed Oreos (optional)

​Directions
:
Cream the butter and sugar together. Add the egg and vanilla until blended. Add the flour and dry jello powder (don't make the jello, just add the jello mix to the flour). Mix until incorporated, then fold in the optional Oreos. The dough needs to rest for at least 10 minutes at room temperature before you roll it out. I roll these out to 1/4 inch. Adding the optional crushed Oreos can make the dough spread a little, so if you are doing a more detailed shape, leave these out. If you add the optional Oreos I found that refrigerating the dough for about 2-4 hours helps them spread less. And because I LOVE Oreos I actually added an additional 1/2 cup of chopped Oreos to this batch. Bake at 375 for 8-10 minutes. They were so yummy my kids ate the first batch with no icing...lol. You can eat them this way, or ice them using your favorite glaze or royal icing recipe.
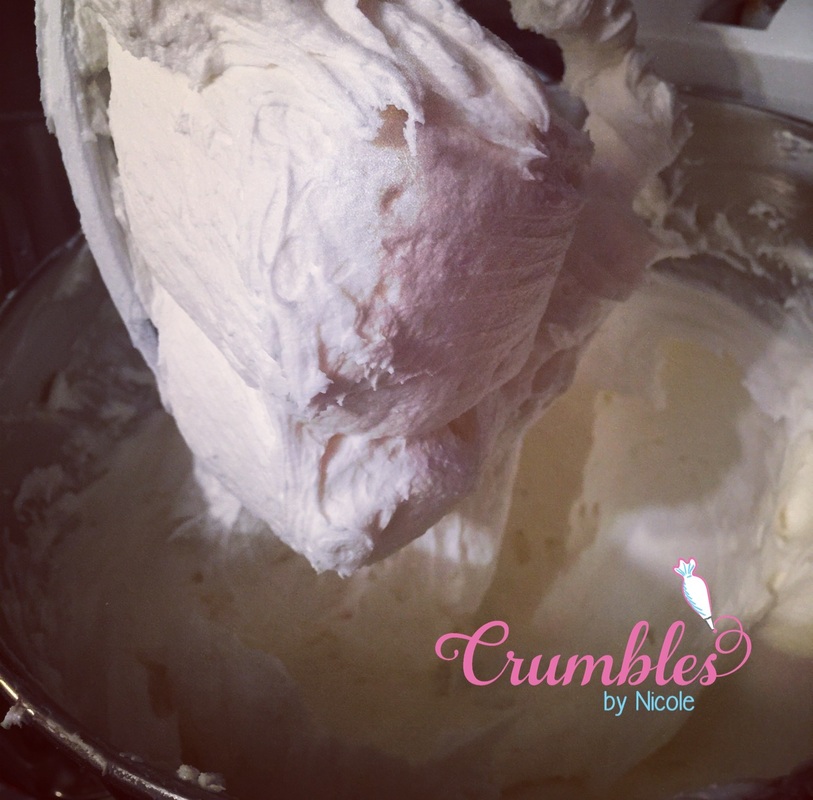
Picture
Royal Icing:
Ingredients:
3/4 cups warm water 3/4 tsp cream of tarter
5tbsp meringue powder
2lbs bag of sugar
2tbsp corn syrup
1 tsp glycerin
2 tsp butter vanilla LorAnn emulsion (or clear vanilla)
Directions:
in a stand mixer, mix warm water, cream of tarter, and meringue until dissolved. Add sugar and mix until incorporated. Add corn syrup, glycerin and flavoring and beat until stiff peaks form. Use water to dilute the icing to the right consistency (I use a spray bottle so that I don't add to much water at once).

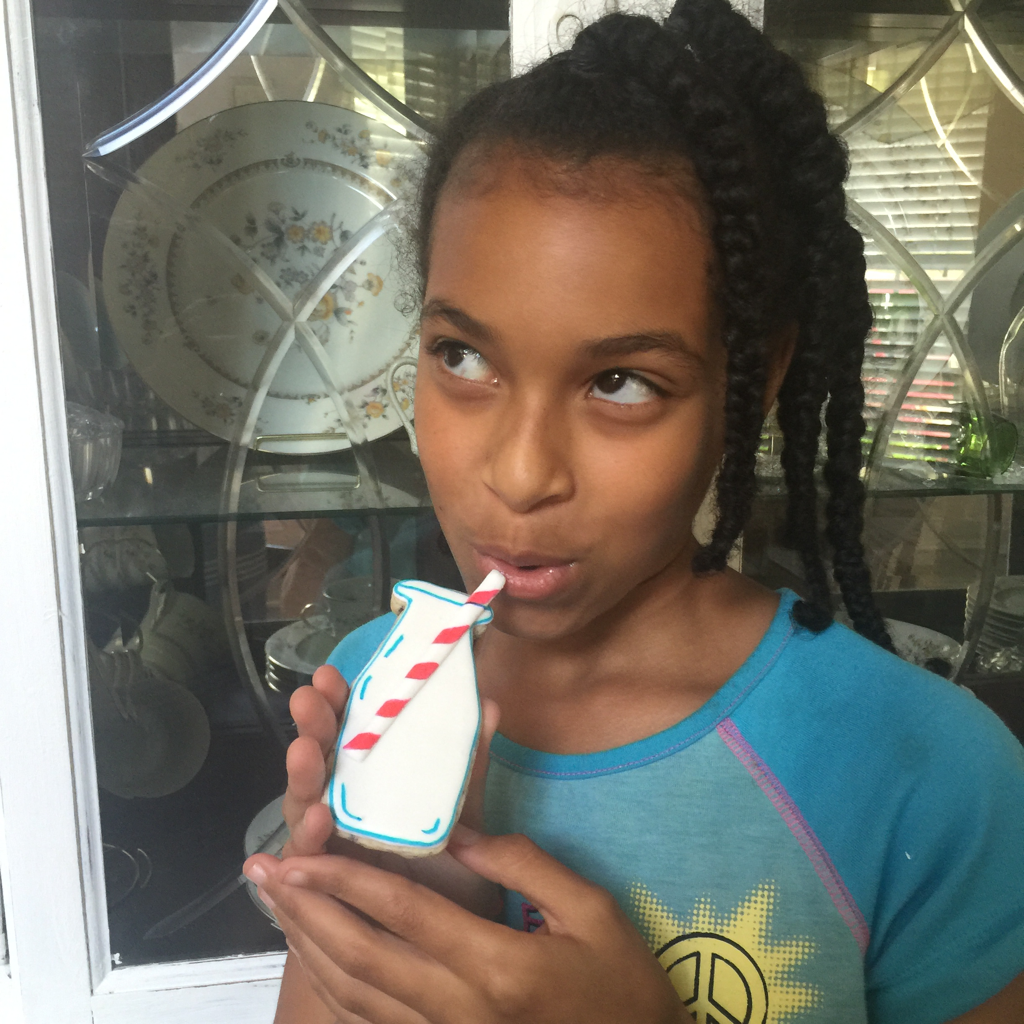
I hope you enjoy these as much as my family does.
Picture
16 Comments

Chocolate Chip Cookie Cake

1/24/2016

10 Comments

 
Picture
What do you do when your daughter wants a chocolate chip cookie cake for her birthday? If you're a baker, you make one! When my oldest daughter said she wanted a cookie cake for her 11th birthday my initial response was "I don't make those." Nothing like an 11 year old telling you that you can make anything to boost your self-confidence and make you step out of your baking box.

I started with the chocolate chip cookie recipe in one of the old recipe books that my husband’s grandmother gave me when we got married.  I knew I'd need to make a few changes to make it crisp enough to hold it's shape when cut in to wedges, but chewy enough to remind me of cake. I also needed to change the amounts used in that recipe to fit into my cookie cake pan without any waste.  I had already changed the recipe quite a bit (because I’m a rebel and can’t follow a recipe without adding my own spin to it). So, if you are a rebel like me and you have a chocolate chip cookie recipe that you love, you can just use that.  However, I would suggest that you make use of my research in the fine art of cookie making and add my secret ingredient. Yes, this cookie cake has a secret ingredient.

 
Secret Ingredient: Magic Fairy Dust (aka Corn Starch)
What? Who knew that this kitchen staple used as a thickening agent would be magic fairy dust for perfectly soft and chewy cookies?  From all of my sugar cookie research I have learned that a little corn starch added to cookies softens the proteins in the flour and makes for a more tender, chewy cookie.  Some cookie recipes use powdered sugar to also achieve this effect, but powdered sugar is significantly more expensive than granulated sugar, so being the profit maximizing girl that I am, I use granulated sugar and just add a teaspoon of corn starch per cup of flour used in my cookie recipes.  You can find more info about the wonders of corn starch here.

Ok, so there you have it.  My secret is out, now let’s get to bakin!!
This recipe fits perfectly into the cookie cake pan from Hobby Lobby (which i think is the same as the Wilton Cookie Cake Pan). I use a stand mixer with a paddle blade to make the cookies and the frosting.  You should be able to use a hand mixer if you don’t have a stand mixer. 

Chocolate Chip Cookie Cake
Ingredients:
1/2 cup of room temperature salted butter (yes salted! Salt brings out the chocolate flavor more IMHO)
3/4 cup of light brown sugar (packed)
1 egg + 1 egg yolk
1 tsp vanilla
1 cup all-purpose flour
½ tsp baking soda
1 tsp corn starch
¾ cups of milk chocolate chips (and a few more to sprinkle on top)
Directions:
Cream the sugar and butter together until fluffy.  Add the vanilla and eggs and mix until incorporated.  Add the flour and corn starch and mix until it comes together.  Fold in the chocolate chips.  Grease the pan (or spray with Bakers Joy like I did).  Press the dough in the pan leaving about a half inch border all around the sides.  Use a spatula to try to make the dough as even as possible. Sprinkle some chocolate chips in top of the dough. Bake at 375 for 10-12 minutes.  The outside should be golden brown.  Let the cake cool in the pan.  After the cake is cool, use a butter knife to slide around the edge of the pan to loosen the cake and make it easier to take out.  Frost with vanilla or chocolate frosting (or be like me and do both).

Picture
Vanilla Frosting:
1/2 cup salted butter (yes, salted...Ok I have a problem)
1/2 cup shortening (can be replaced with butter but the icing will be less stable)
1lb powdered sugar
1tsp clear vanilla extract
3oz heavy cream
Directions:
Cream the shortening and butter until combined and fluffy.  Slowly add the sugar.  Add the vanilla and heavy cream.  Mix on low until combined, then mix on high until the frosting is fluffy (about 1-2 min). Put in a piping bag fitted with a Wilton 12 star tip.

Picture
The kind of chocolate you use in this recipe is up to you.  If you are one of those "I don't like it too sweet" kinda people, then use bittersweet or semisweet chocolate. But if you are like me and are more of a "The sweeter the better" kinda person,  then go with milk chocolate.
Chocolate Frosting:

1/4 cup semisweet or milk chocolate chips
1/4 cup of salted butter (again....really? yes really!)
1 tsp vanilla extract
3 TBSP of heavy cream
2 cups of powdered sugar
Directions:
Melt the butter in the microwave.  Add the chocolate and stir to combine. You may need microwave it for 20-30 more seconds if the butter does not melt all of the chocolate.  After it’s combined, let it come back to room temp.  Once at room temperature, add vanilla and cream in a mixer. Mix on low until combined.  Add the sugar and mix until smooth. Put the icing in a piping bag fitted with a Wilton 12 star tip.

Picture
Let's just say someone LOVED it!
10 Comments

The Inspiration Behind My Christmas Breakfast Cookie

12/18/2015

3 Comments


French Toast Casserole

Picture
Picture
The first time I tried this recipe it was at a Mocha Mom brunch.  One of the moms brought a French Toast Casserole and I thought it was the best breakfast dish I had ever eaten.  An added bonus was that all the kids loved it, and I am always on the search for recipes that all the picky eaters in my family can enjoy.  When she told me she prepared most of it the night before, I was sold. I set out on a mission to make my own thinking it would be perfect when we had family in town, or on special mornings when we all wanted to be together.  Since I love family traditions, the Christmas Morning French Toast Casserole tradition was born.

This recipe is prepared the night before Christmas while Santa is busy putting presents under the tree.  I prepare it, then pop it in the oven on Christmas morning as soon as the kids wake us up to go downstairs to open presents.  By the time they are finished opening presents, breakfast is ready to be served.  We get a perfect homemade breakfast without having to spend much time in the kitchen on Christmas day.  This recipe was also the inspiration for my Christmas Breakfast Cookie (featured on The Great Holiday Baking Show). You can find this recipe here.


Ingredients:

1lb bacon
1/2 cup butter, melted
1 loaf of bread (about 20 slices or less if thicker bread is used)
1 1/4 - cup brown sugar
1.5 - tsp cinnamon
1/2 - tsp nutmeg
5 - eggs
3/4 cup milk
½ cup heavy cream
1 tsp vanilla extract
1 tsp vanilla bean paste (optional but I recommend it)
 
Directions:
Start by cooking the bacon.  I like to cook my bacon on a cooling rack that is inside a larger pan in the oven for 30 min at 350.  For this recipe I cook it about 20 min until just cooked but not quite crispy.  It can also be cooked on the stove-top.  No matter what method you use to cook the bacon, cook until just done as it will be cooked again the next day.

While the bacon is cooling, mix the dry ingredients together in a bowl (brown sugar, cinnamon, and nutmeg). In another bowl mix the eggs, milk, cream, paste and extract together. Melt the butter in the microwave and pour it in a 9x 13. Cut each piece of bread into strips.  Layer bottom of pan with a third the bread pieces.  Sprinkle 1/3 of the brown sugar mix over the bread. Layer the second third of bread and top with 1/3 of brown sugar mix. Add the last layer of bread and pour the egg mixture over the bread slices. Make sure you cover all the pieces of bread. Chop the bacon and add about ½ cup of chopped cooked bacon (or more if you are a bacon lover) to the top of the bread.  Sprinkle remaining brown sugar on top. Cover the dish and refrigerate overnight. In the morning, remove from the refrigerator and bake (still covered in foil) in a preheated oven at 350 for 30 minutes. Then uncover and bake 15 more minutes until brown and set. Take out and enjoy with powdered sugar or syrup (my family likes both).


Picture
3 Comments

Creating Cookie Bag Toppers

1/4/2015

 
Picture
Recently I have had several request from my cookie peeps to create a tutorial on how to create cookie bag toppers. Since one of my New Year's resolutions was to start a blog I thought I would give it a try.  Please hang in there with me as this is my first ever blog post (hopefully there will be many more to come).  Before we begin I'd like to tell you a couple of things about me to help you understand my ramblings...lol
1. I have severe ADHD and will likely walk away from my computer 30 times while writing this.  I get distracted easily...lol.
2. I think faster than I type, so there might be some typos and  mistakes here and there. Please  forgive me.  I will likely notice them later, but I will probably get distracted before I get around to fixing them.
3. If the overuse of commas, ......,  the word i in lower case, and lol bother you - then you are reading the wrong blog...lol (see it started already)
4. While I am a teacher, grammar and spelling have never been my strong suite - don't judge me...lol
5. I am a wife, mother of 3, Girl Scout leader, kindergarten teacher and cookie maker/blogger.  I say     all this to say - I will try to answer any questions, but it might take me a while to get to it...lol
Now lets start this thing!
There are several ways that one could to do this.  I tried to go the simplest way...here goes:


Create a textbox in Microsoft Word. Select insert, text box, then draw text box.


Picture
Draw a medium box by dragging the arrow across the screen sized text box. 
Picture
Size the box by right clicking the box and selecting more layout options.
Picture
Size the box by right clicking the box and selecting more layout options.
Picture
Select size – Height 3.05 and width 4 inches.  (you can make them larger but I like to get 6 to a page). This size fits a standard 4x6 cookie bag.
Picture
Start your design. I’m working on Valentine’s Day Tags. I like to find some free clip art online to start.  Google your theme, I’m sure there is something already out there that's free. Copy the image and paste inside your box.

Picture
Resize the image so that it is only covering the bottom half of the tag (remember these will be folded over the cookie bag).  Treat the top half of the bag as the back side of the cookie and the bottom half as the front of the bag topper.
Picture
Next, insert word art.
Picture
Type your text and resize it to fit.  You can also choose another font.
Picture
Drag the words to the correct position.
Picture
If you are not very computer savvy you can stop here – tags done.  For savvier computer folks you can add business info, logo, or other info to the back of your tags.

Insert more word art (I used my website) and resize it to fit.  I wanted it kind of small so that I can add a small logo and To: and From: since these will be valentine’s card cookies.
Picture
Use the circle at the top of the word art to rotate the image.  You will want this image to be upside down (remember this is the back of the cookie).  Then move the image where you want it (be sure to keep it on the top portion of the tag).
Picture
I did the same thing with the To: and From: – add word art, rotate and resize.
Picture
Insert your logo by selecting insert picture and moving it in to position.  You will also want to rotate it so that it is upside down.  If this was not a Valentine’s card with To; and From: space needed on the back I would only have my logo and website and they would both be larger in size.

Picture
Picture
You can copy and paste the image to get several on a page – I do 6 to a page.  It's more cost effective.  I print these on card stock.  Fold them in half and staple to the tops of your sealed cookie bag.
I hope this was helpful.  I'm no computer genus but I'd be happy to help any way I can.  I'd love to hear what you think and to see pics of your tags if you don't mind sharing. 

And for those who say this is to hard for me, digital downloads of everything I create from here on out will be in my shop....lol.


 .....and that's the way the cookie CRUMBLES!!!

    Nicole Silva

    I am a Kindergarten teacher, mother of 3 girls, and wife who stumbled upon this cookie baking adventure by accident (because I had so much time on my hands...lol).

    Subscribe to blog updates via email

    Enter your email address:

    Delivered by FeedBurner

    Archives

    June 2016
    January 2016
    December 2015
    January 2015

    Categories

    All
    Computer Tutorials
    Recipes

  • Home
  • Gallery
    • Decorated Cookies >
      • Baby
      • Birthday
      • Business/Logo Cookies
      • Character Cookies
      • Holidays/Seasonal
      • Specialty Cookies
      • School/Graduation
      • Sports
      • Weddings & Bridal Showers
      • Work/Hobby
      • Miscellaneous
    • Monster Shakes
    • Cupcakes
    • Cakes
  • Parties
  • About
  • Request a Quote
  • Shop Now
  • BLOG
  • Application
  • Donation Request
  • Waiver Release