

Recently I have had several request from my cookie peeps to create a tutorial on how to create cookie bag toppers. Since one of my New Year's resolutions was to start a blog I thought I would give it a try. Please hang in there with me as this is my first ever blog post (hopefully there will be many more to come). Before we begin I'd like to tell you a couple of things about me to help you understand my ramblings...lol
1. I have severe ADHD and will likely walk away from my computer 30 times while writing this. I get distracted easily...lol.
2. I think faster than I type, so there might be some typos and mistakes here and there. Please forgive me. I will likely notice them later, but I will probably get distracted before I get around to fixing them.
3. If the overuse of commas, ......, the word i in lower case, and lol bother you - then you are reading the wrong blog...lol (see it started already)
4. While I am a teacher, grammar and spelling have never been my strong suite - don't judge me...lol
5. I am a wife, mother of 3, Girl Scout leader, kindergarten teacher and cookie maker/blogger. I say all this to say - I will try to answer any questions, but it might take me a while to get to it...lol
Now lets start this thing!
There are several ways that one could to do this. I tried to go the simplest way...here goes:
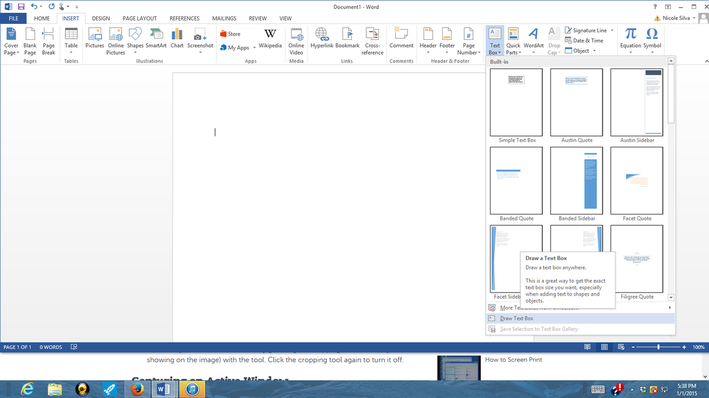
Create a textbox in Microsoft Word. Select insert, text box, then draw text box.
1. I have severe ADHD and will likely walk away from my computer 30 times while writing this. I get distracted easily...lol.
2. I think faster than I type, so there might be some typos and mistakes here and there. Please forgive me. I will likely notice them later, but I will probably get distracted before I get around to fixing them.
3. If the overuse of commas, ......, the word i in lower case, and lol bother you - then you are reading the wrong blog...lol (see it started already)
4. While I am a teacher, grammar and spelling have never been my strong suite - don't judge me...lol
5. I am a wife, mother of 3, Girl Scout leader, kindergarten teacher and cookie maker/blogger. I say all this to say - I will try to answer any questions, but it might take me a while to get to it...lol
Now lets start this thing!
There are several ways that one could to do this. I tried to go the simplest way...here goes:
Create a textbox in Microsoft Word. Select insert, text box, then draw text box.

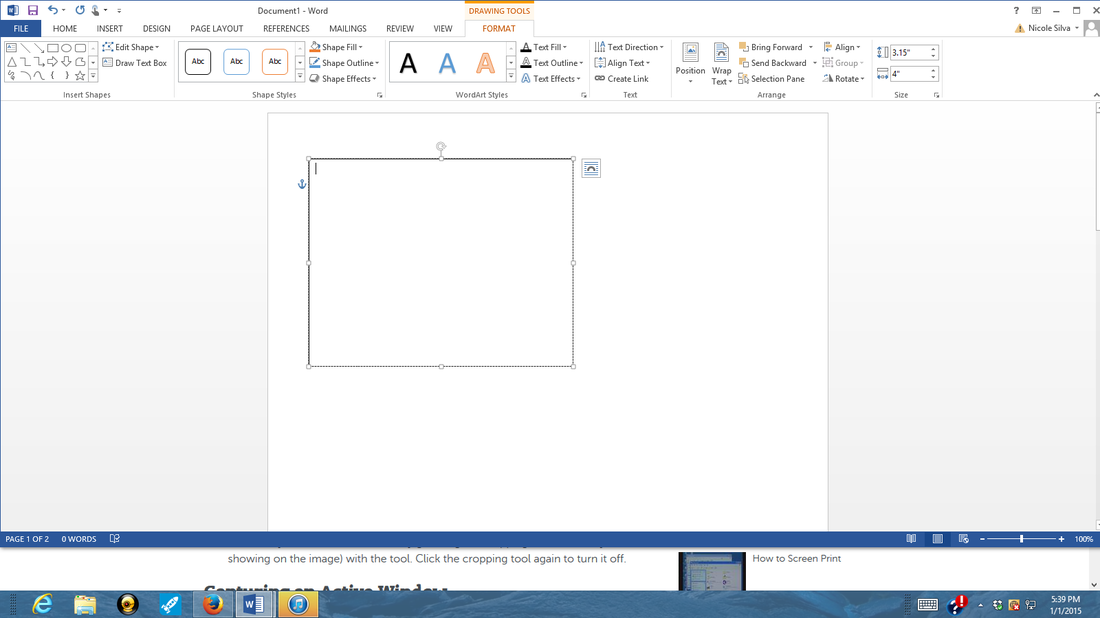
Draw a medium box by dragging the arrow across the screen sized text box.
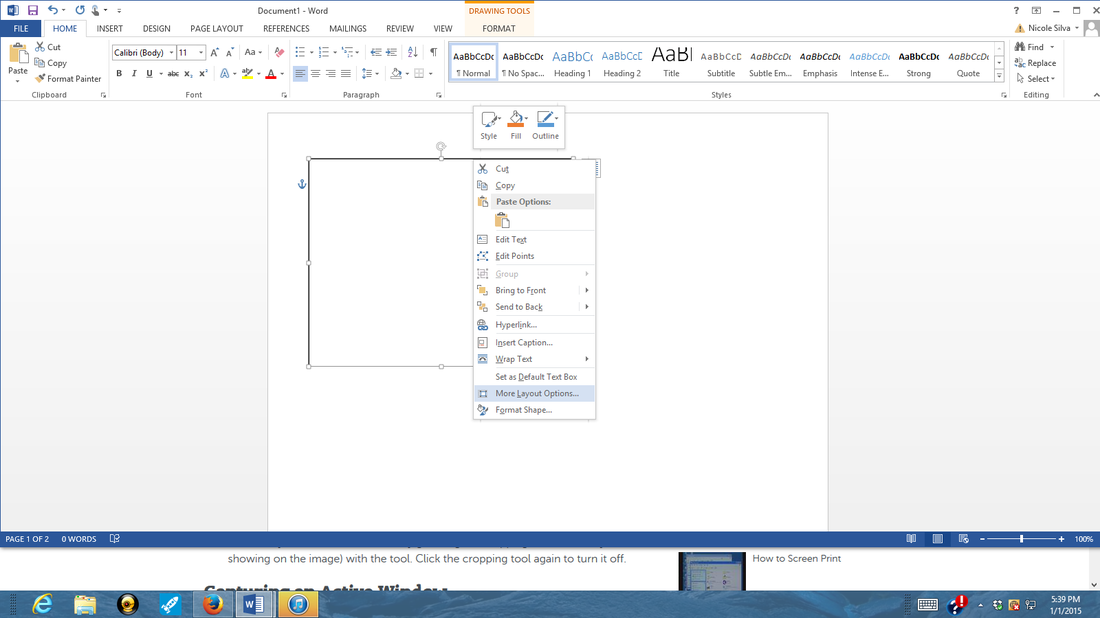
Size the box by right clicking the box and selecting more layout options.

Size the box by right clicking the box and selecting more layout options.
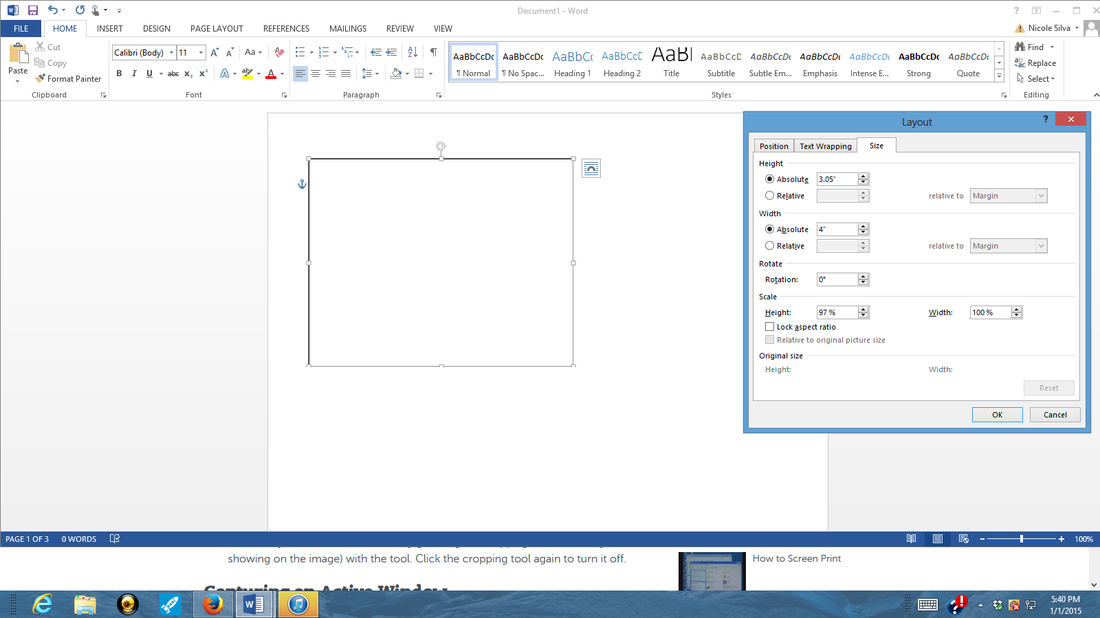
Select size – Height 3.05 and width 4 inches. (you can make them larger but I like to get 6 to a page). This size fits a standard 4x6 cookie bag.
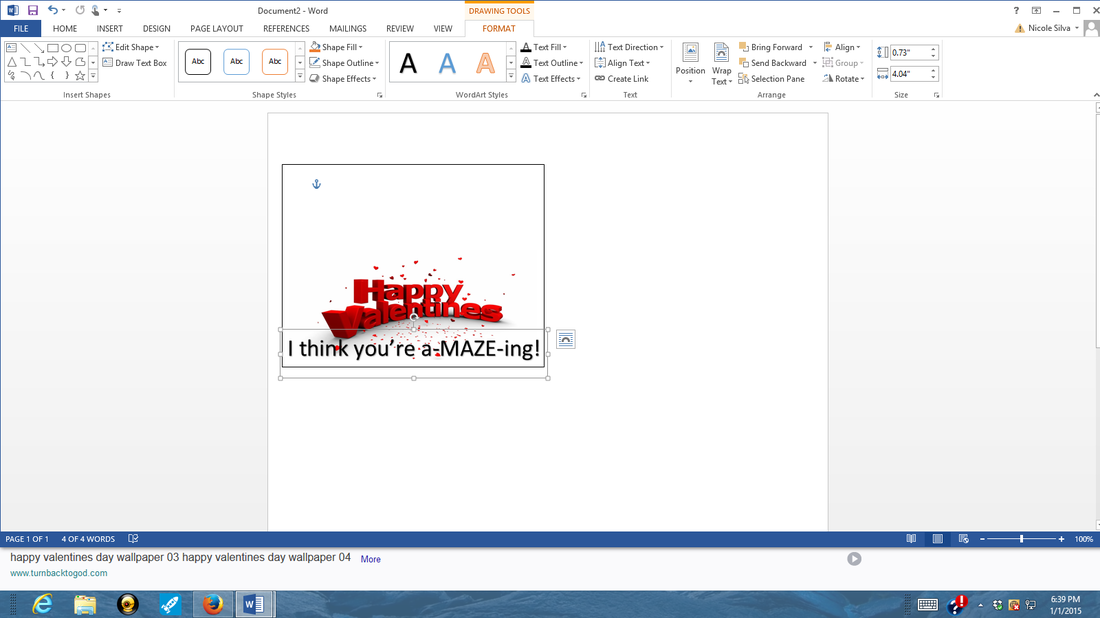
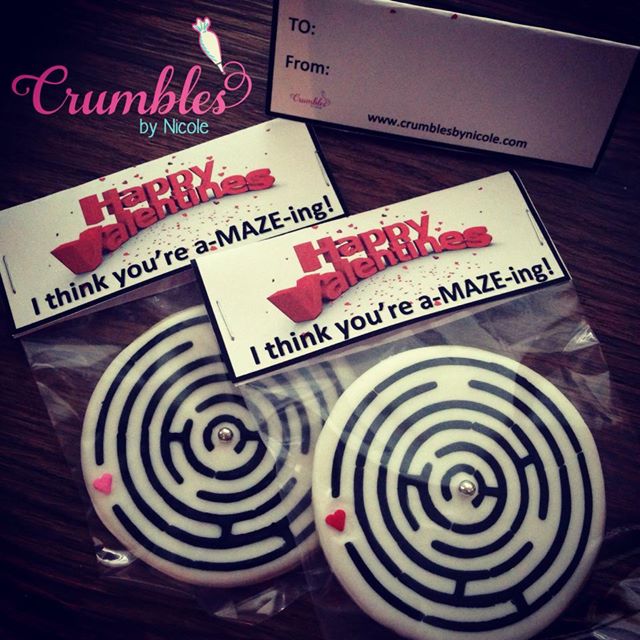
Start your design. I’m working on Valentine’s Day Tags. I like to find some free clip art online to start. Google your theme, I’m sure there is something already out there that's free. Copy the image and paste inside your box.
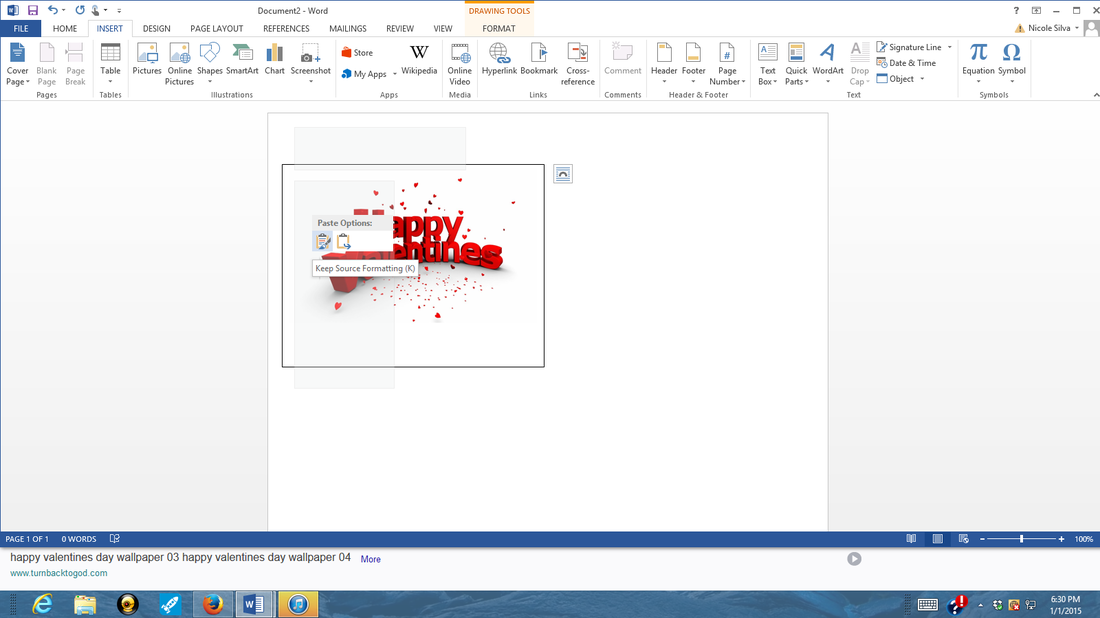
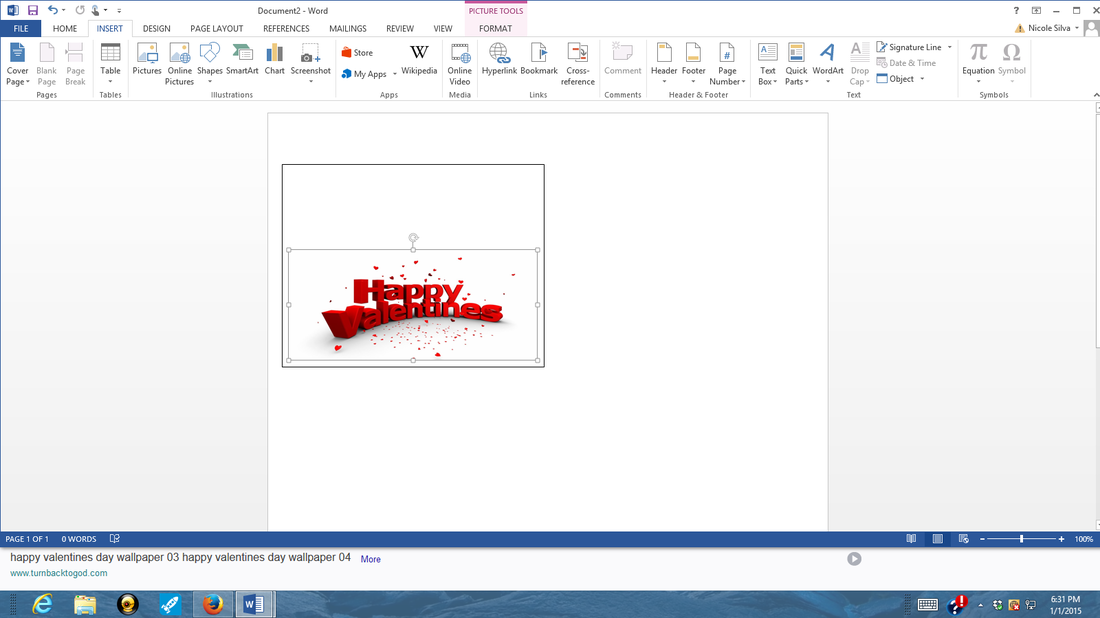
Resize the image so that it is only covering the bottom half of the tag (remember these will be folded over the cookie bag). Treat the top half of the bag as the back side of the cookie and the bottom half as the front of the bag topper.
Next, insert word art.
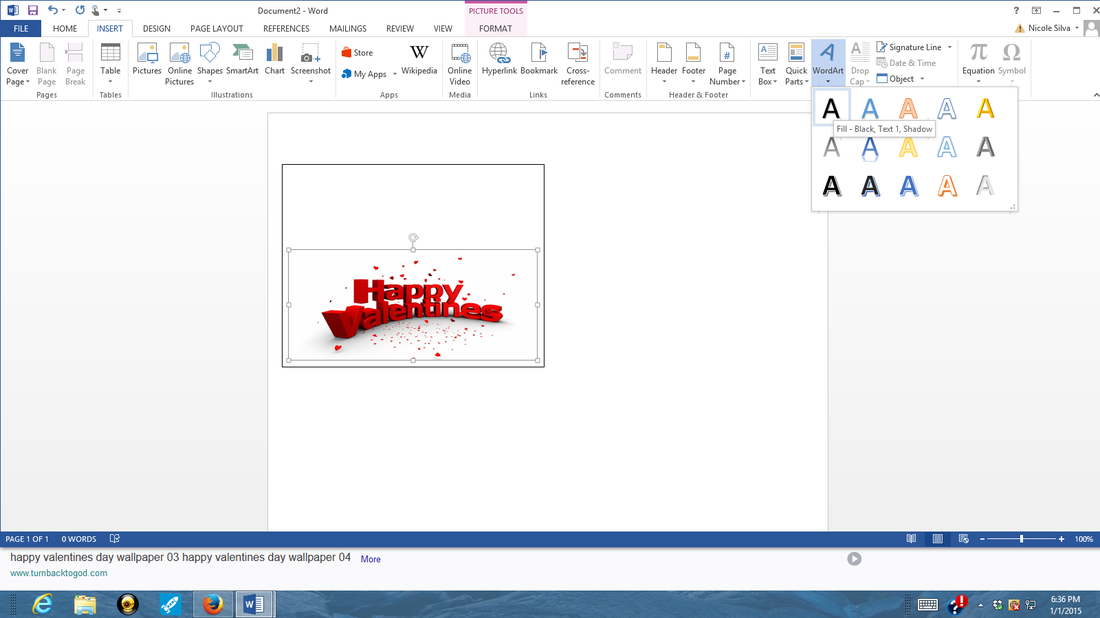
Type your text and resize it to fit. You can also choose another font.
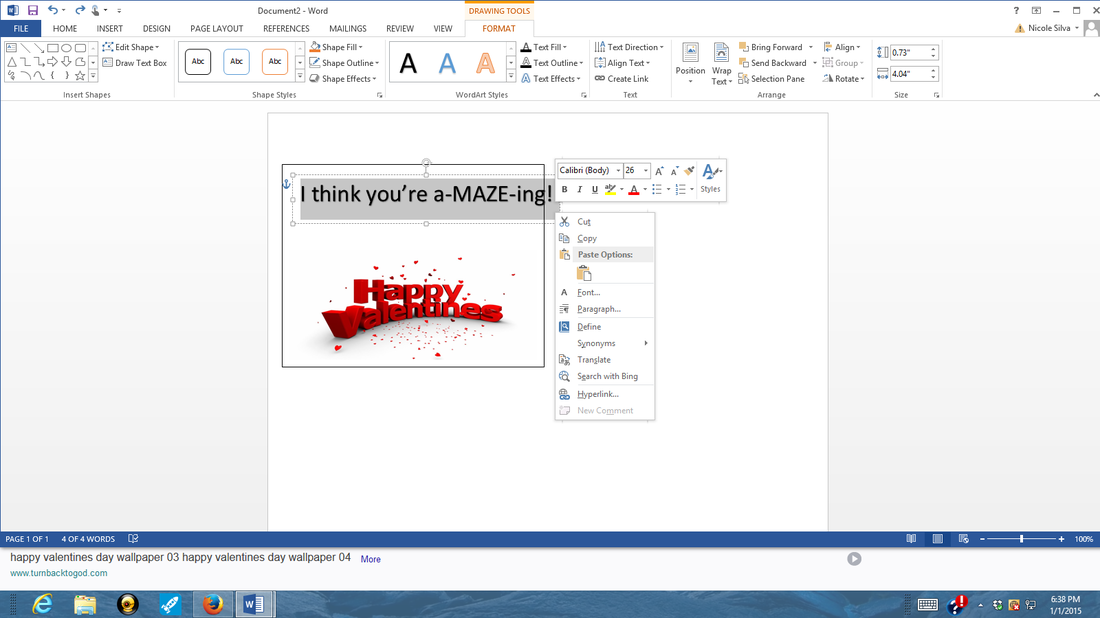
Drag the words to the correct position.
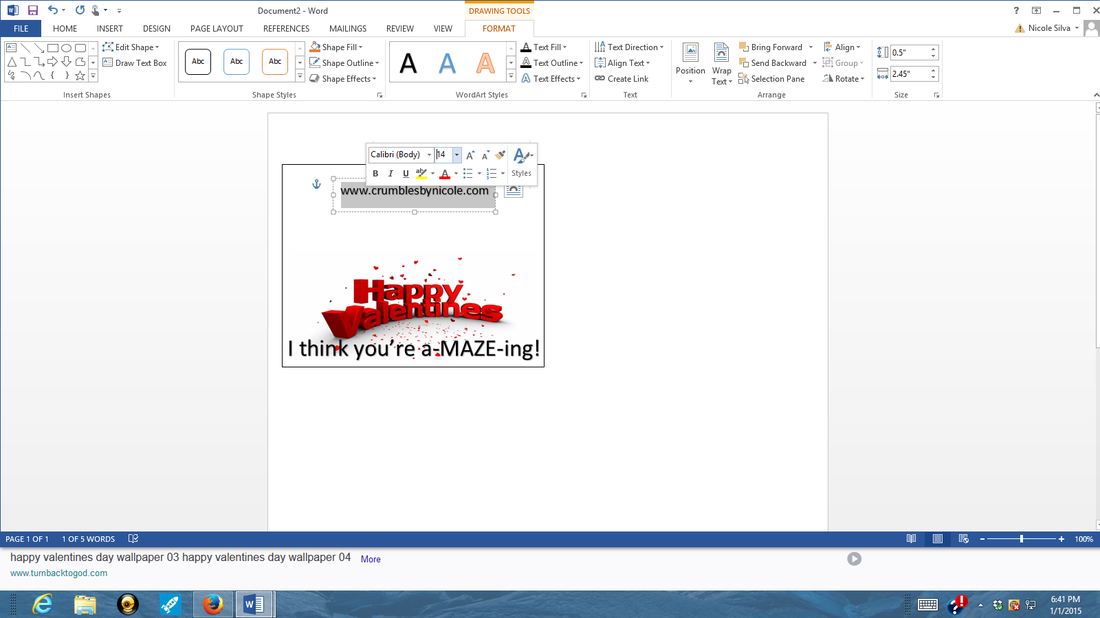
If you are not very computer savvy you can stop here – tags done. For savvier computer folks you can add business info, logo, or other info to the back of your tags.
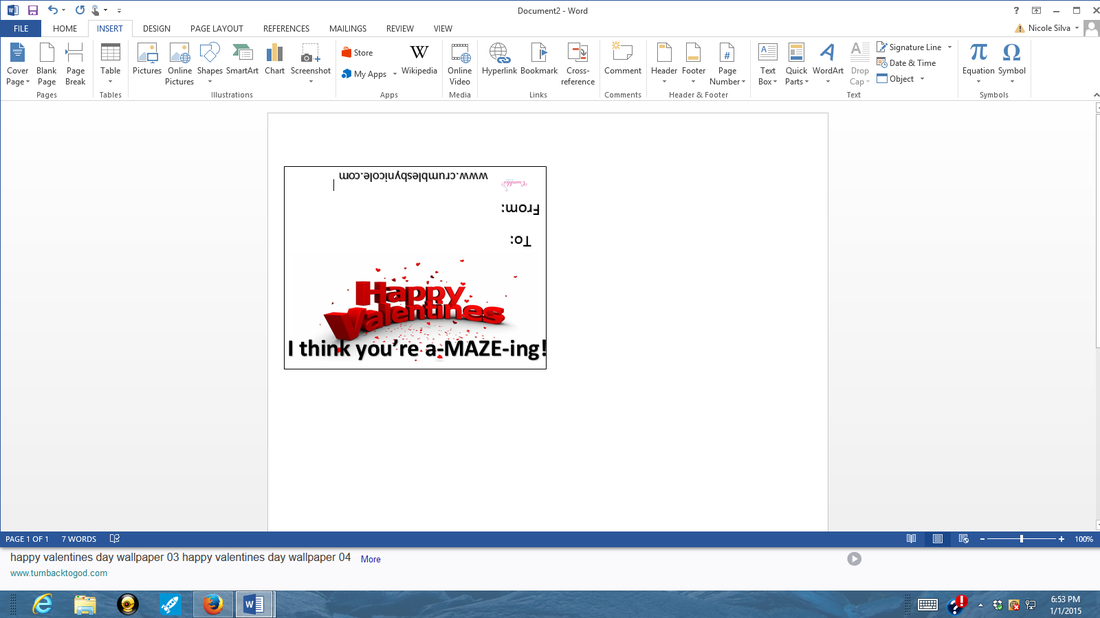
Insert more word art (I used my website) and resize it to fit. I wanted it kind of small so that I can add a small logo and To: and From: since these will be valentine’s card cookies.
Insert more word art (I used my website) and resize it to fit. I wanted it kind of small so that I can add a small logo and To: and From: since these will be valentine’s card cookies.
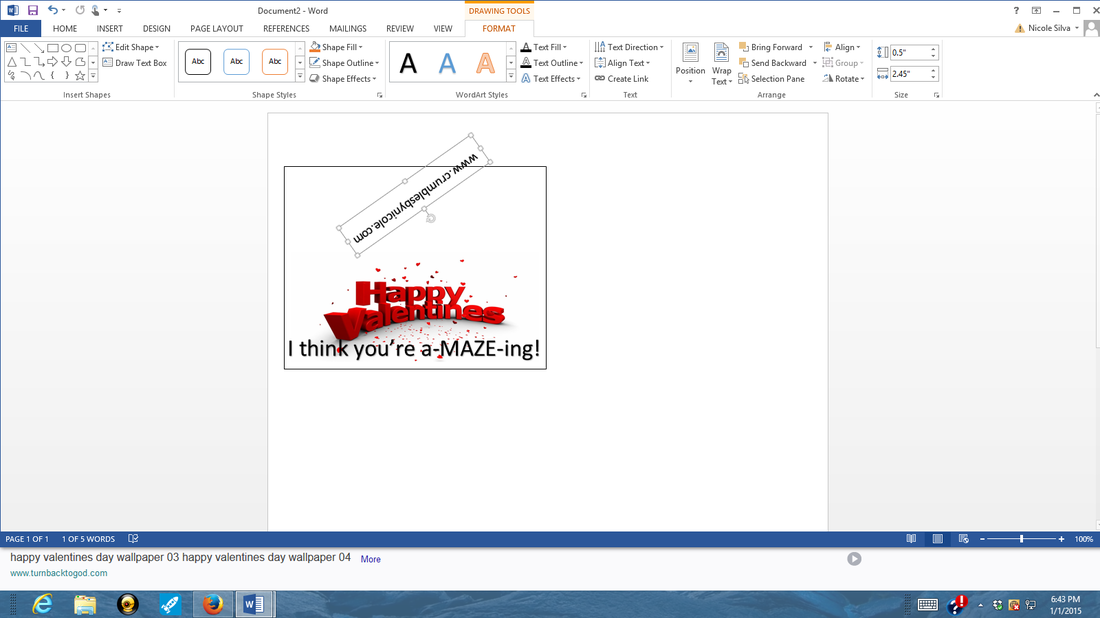
Use the circle at the top of the word art to rotate the image. You will want this image to be upside down (remember this is the back of the cookie). Then move the image where you want it (be sure to keep it on the top portion of the tag).
I did the same thing with the To: and From: – add word art, rotate and resize.
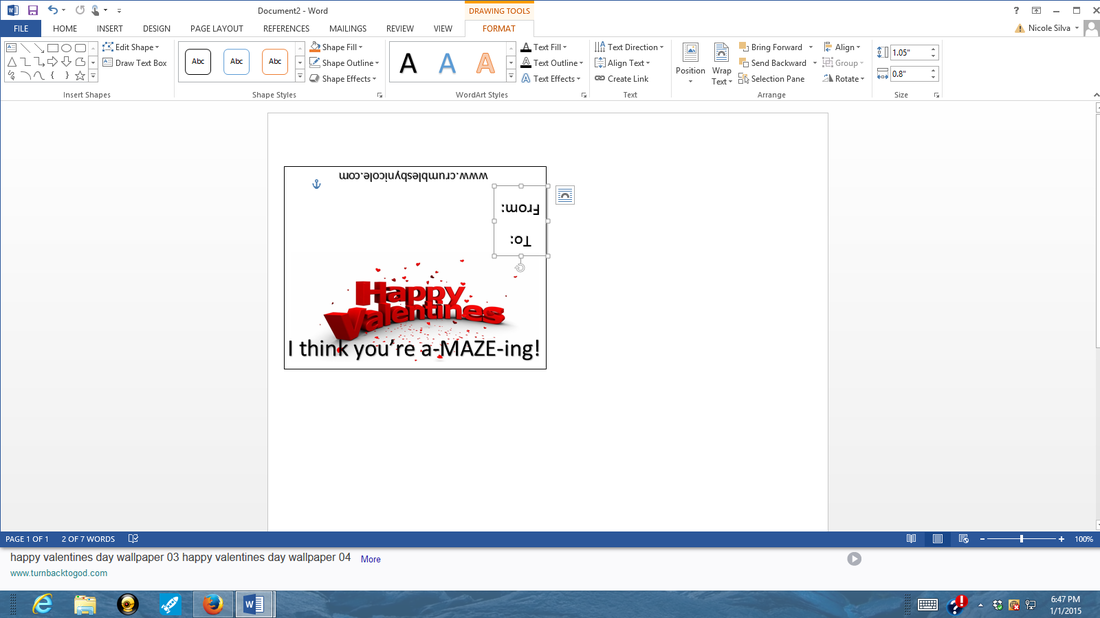
Insert your logo by selecting insert picture and moving it in to position. You will also want to rotate it so that it is upside down. If this was not a Valentine’s card with To; and From: space needed on the back I would only have my logo and website and they would both be larger in size.
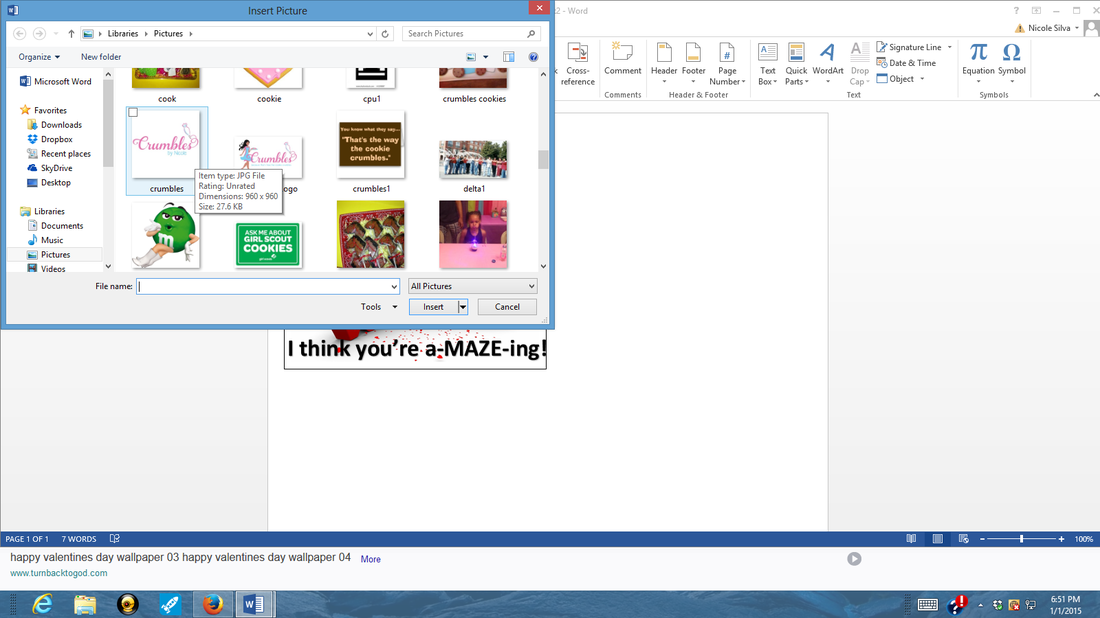
You can copy and paste the image to get several on a page – I do 6 to a page. It's more cost effective. I print these on card stock. Fold them in half and staple to the tops of your sealed cookie bag.

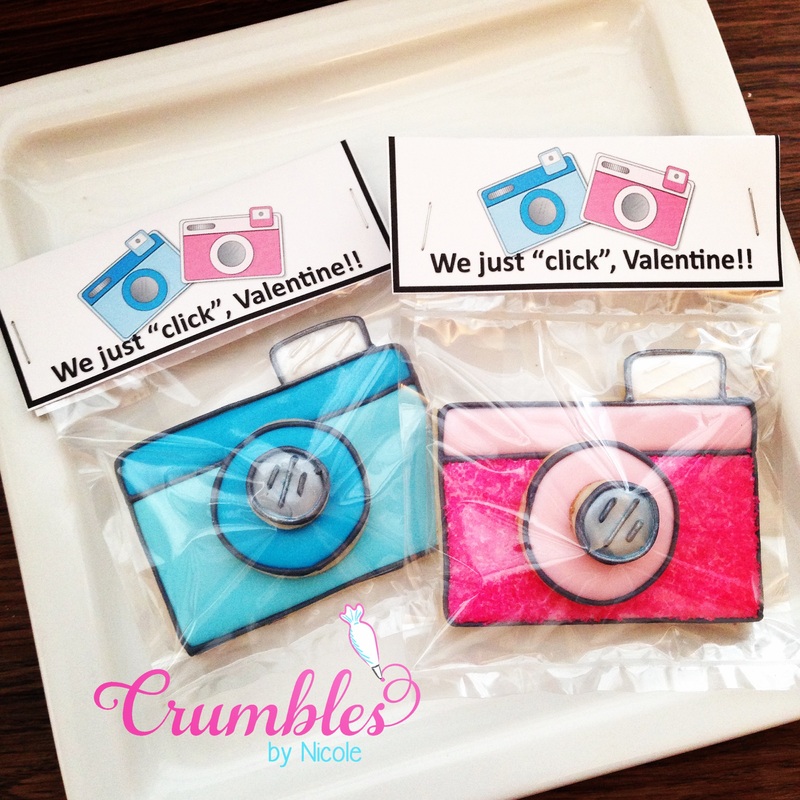
I hope this was helpful. I'm no computer genus but I'd be happy to help any way I can. I'd love to hear what you think and to see pics of your tags if you don't mind sharing.
And for those who say this is to hard for me, digital downloads of everything I create from here on out will be in my shop....lol.
.....and that's the way the cookie CRUMBLES!!!
And for those who say this is to hard for me, digital downloads of everything I create from here on out will be in my shop....lol.
.....and that's the way the cookie CRUMBLES!!!